
Views: 12 Author: Site Editor Publish Time: 2026-09-15 Origin: Site


Developing a new shoe sole can seem complicated when you are doing it for the first time.
How much does a new outsole cost?
How long does it take to make the mold?
Do you need a 2D drawing or a 3D file?
Do you need to send a shoe last?
What happens after the first sample?
And most importantly — what should you prepare before contacting a sole manufacturer?
This guide explains the complete process of developing a custom shoe outsole, from the first design idea to the final production mold.
It is written for footwear brands, shoe factories, designers, importers and product developers who want to develop a new sole efficiently and avoid unnecessary delays and costs.
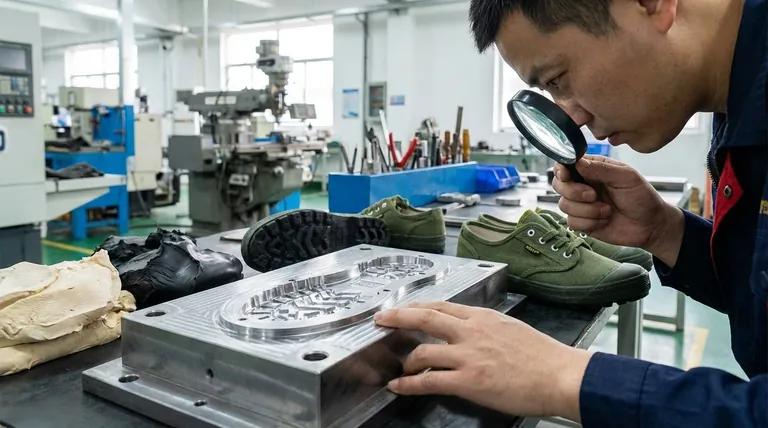
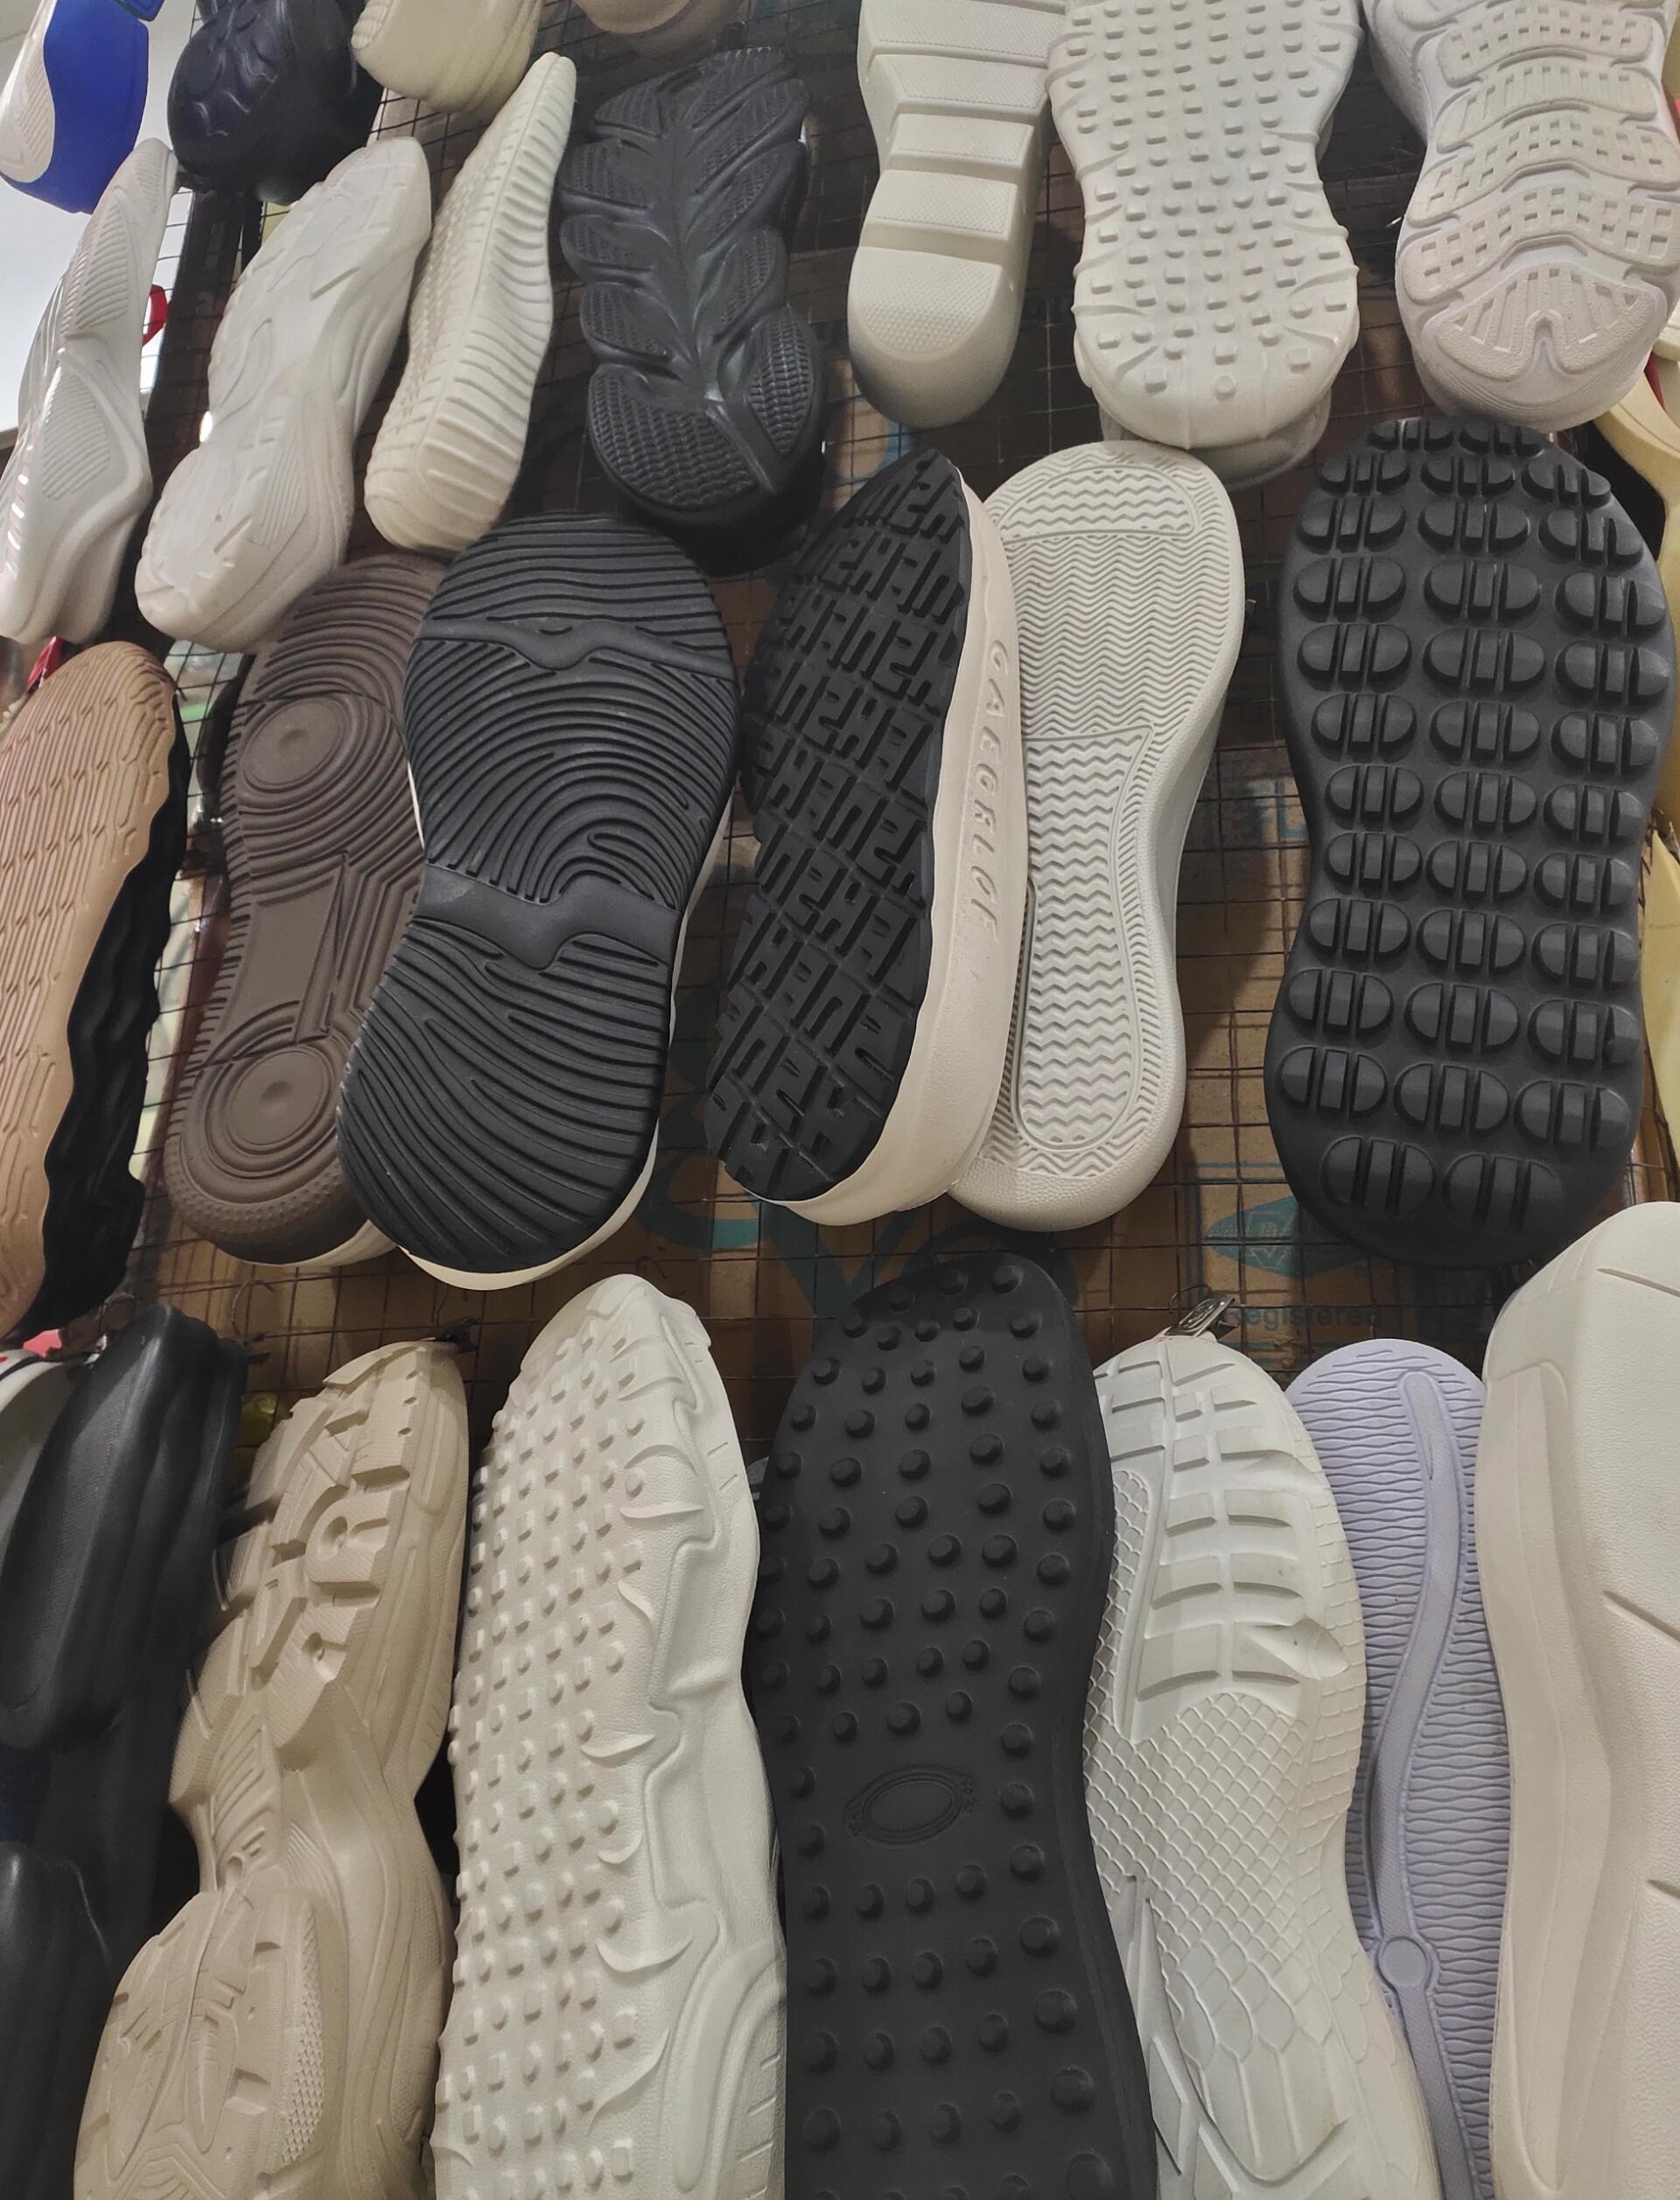
Before discussing mold costs, you need to decide which development route is right for your project.
This is the fastest and most economical option.
You select an existing outsole design from our catalog and choose the required: Size range/Material/Color/Hardness/Logo or branding options/Bottom pattern
No completely new mold is required.
This option is suitable when:
You need samples quickly
Your order quantity is still uncertain
You are testing a new shoe collection
You do not need a completely exclusive outsole
You want to reduce development investment
The main cost is usually the sample, material and shipping rather than a completely new tooling investment.
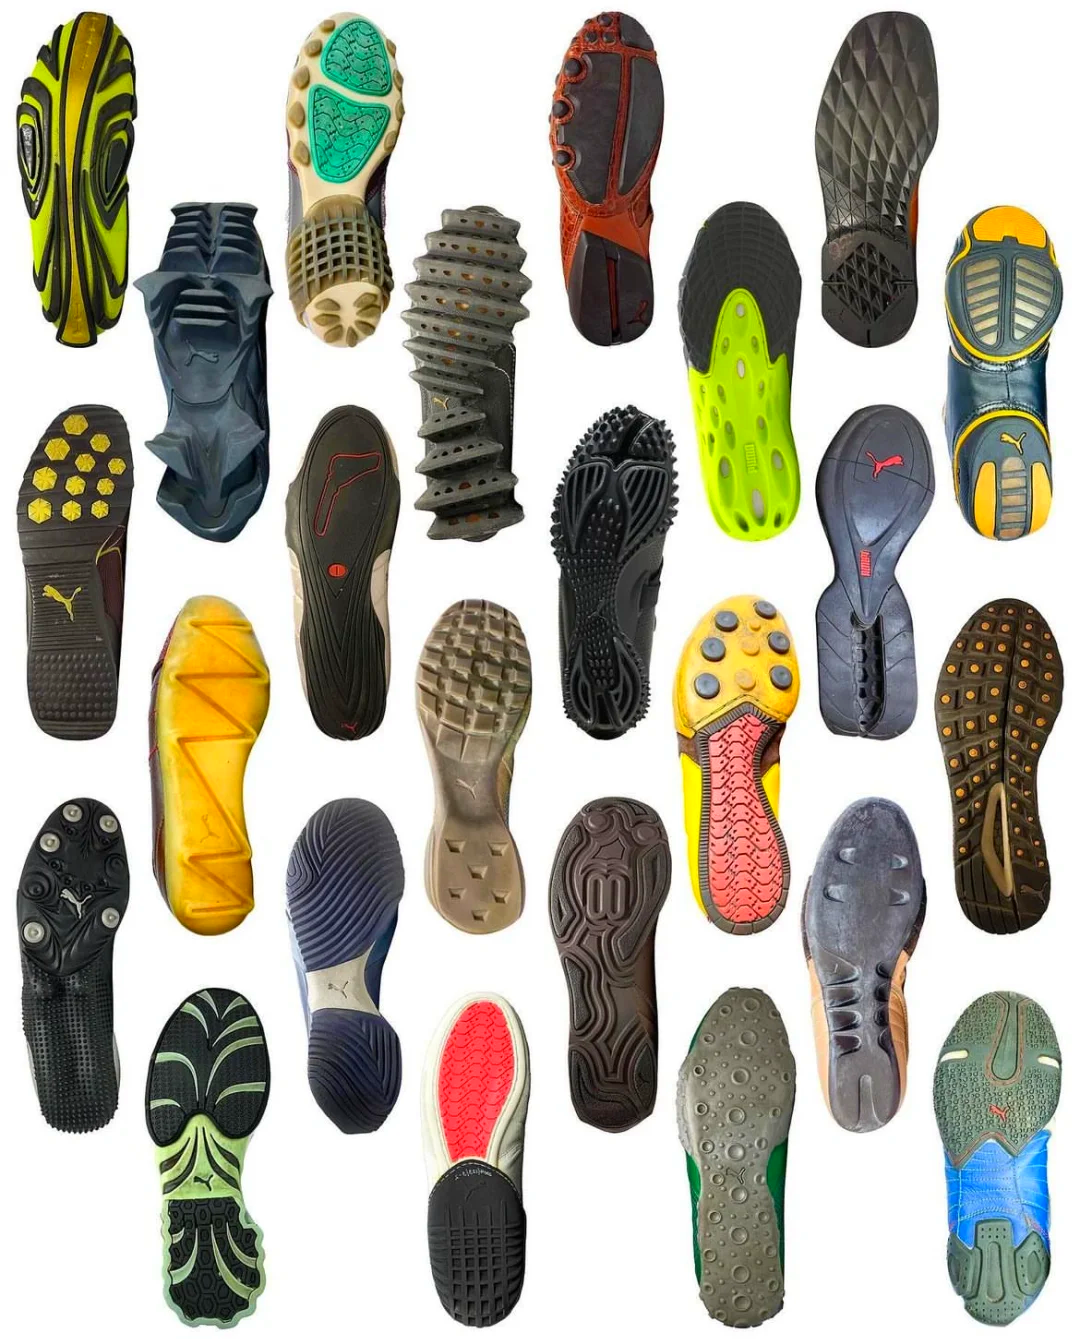
This is a middle option between stock and fully custom development.
For example, you may like an existing outsole but want to change:
Sidewall height/Heel shape/Toe shape/Logo/Tread pattern/Flex grooves/Small design details/Color blocks
Depending on the amount of modification, the factory may be able to use part of an existing tooling structure or make new inserts instead of developing everything from zero. This can reduce both cost and development time.
However, we need to check the existing mold and your requested changes before confirming whether modification is technically possible.
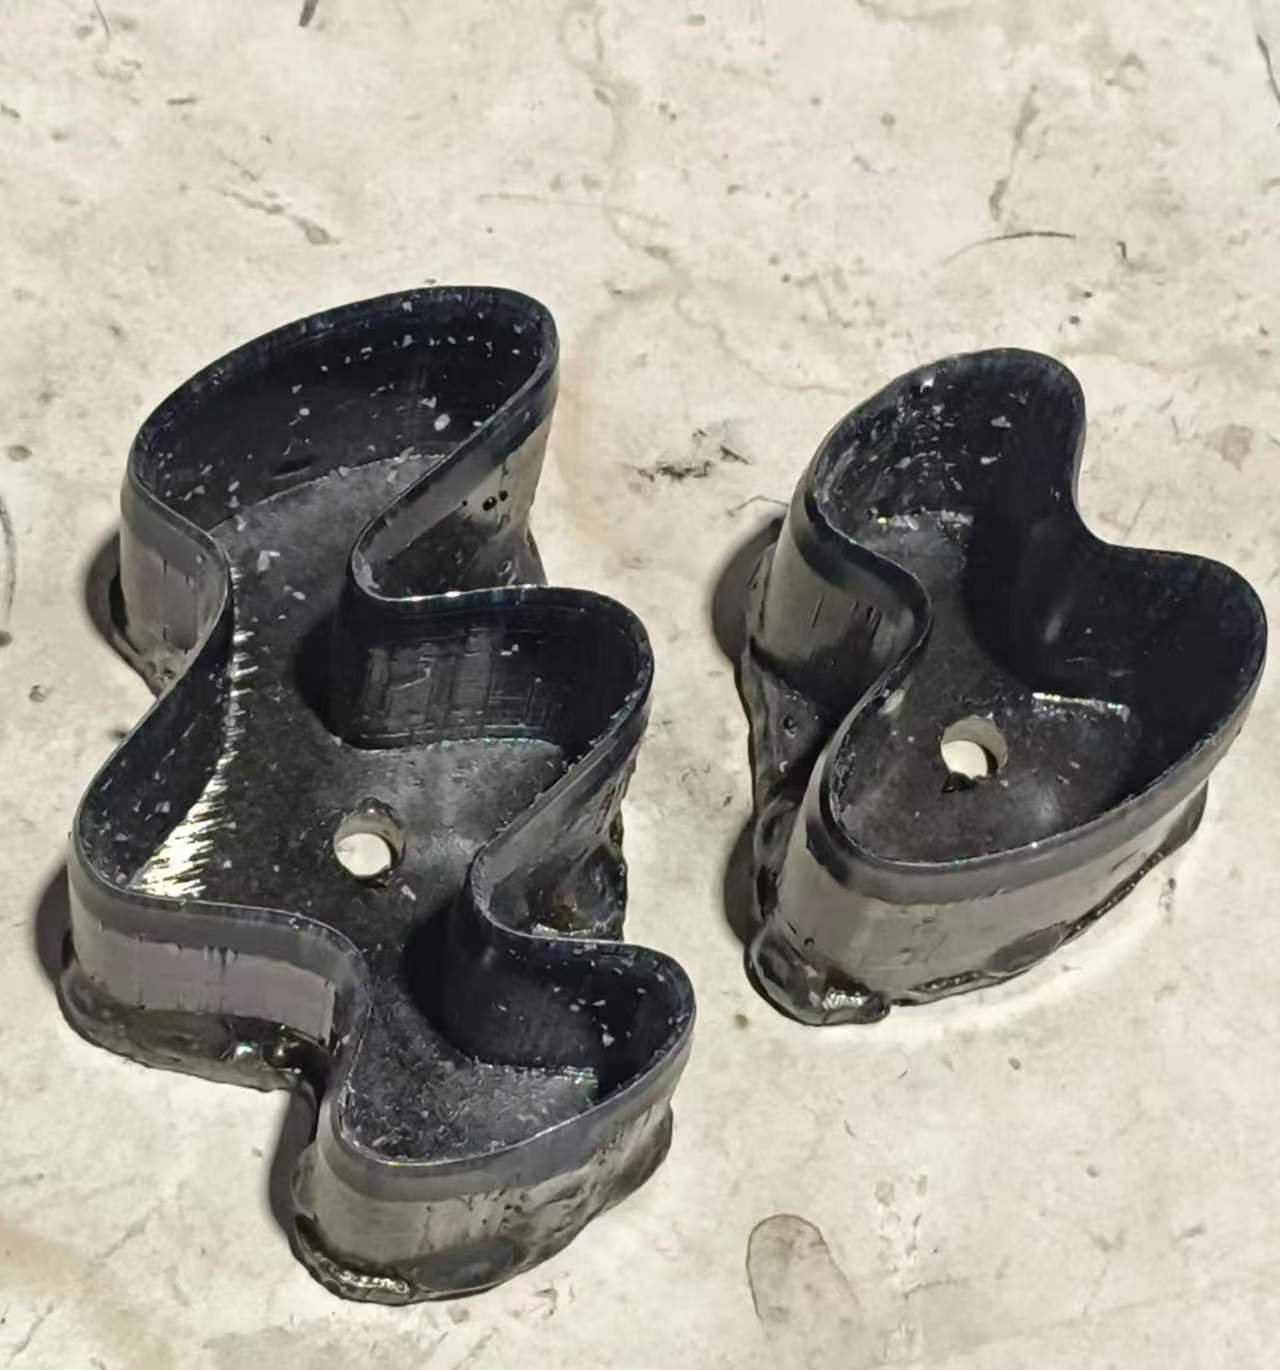
This is the best choice when you need:
A completely original outsole
Your own protected design
A specific fit for your shoe last
A new tread pattern
A specific sidewall design
Special performance requirements
Private mold ownership
A long-term production program
A completely new outsole normally requires a new development process and new tooling. This is where most of the development cost comes from.
There is no single standard price for a custom outsole because the tooling cost depends heavily on the material, construction, size range, mold structure and design complexity.
The following tooling ranges are project references per size, not fixed quotations:
Development Type | Mould/Tooling cost per size |
|---|---|
New shoe last development | US$60-75 |
Basic Rubber / TPR outsole mold | US$500-700 |
Basic EVA/ETPU sole mould | US$1100–1500 |
Multi-part athletic outsole tooling | US$2000–3500 |
Logo / sidewall insert | US$80–120 |
Mold correction | US$150–250 |
The actual quotation can be significantly different depending on the project.
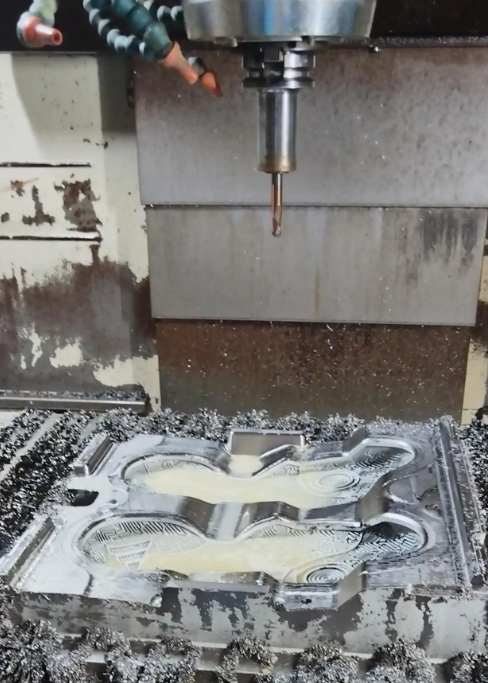
For example, a simple EVA or TPR outsole with a relatively simple structure can require much less tooling investment than a multi-component athletic bottom using EVA/Phylon, rubber, TPU or other components.
The best way to request a quotation is therefore to provide the complete development information first.
Several factors can change the tooling cost significantly.
The molding process is different for:
EVA
Rubber
PU
TPR
TPU
PVC
ETPU
SCF PEBA
Multi-material constructions
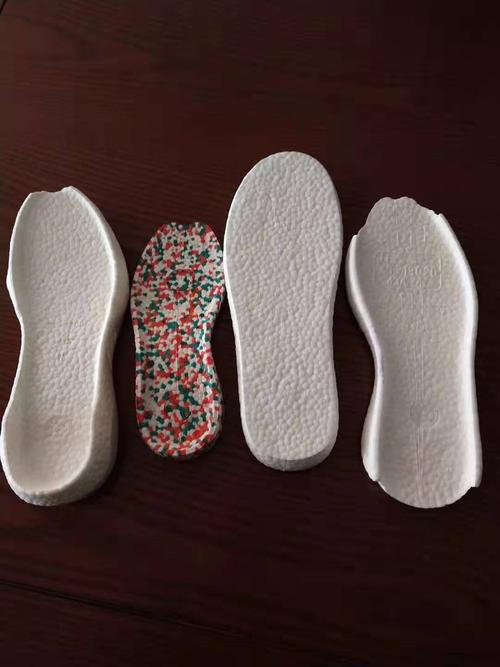
Different materials require different mold structures, processing conditions and shrinkage considerations.
A simple flat outsole is relatively easy to develop.
A complicated outsole may include:
Deep lugs
Hollow structures
Large cut-outs
Multi-color construction
TPU shanks
Rubber pods
Thick sidewalls
Wrap-around heel walls
Complex flex grooves
Fine tread details
Undercuts
The more complicated the construction, the more engineering and tooling work may be required.
A mold for one confirmation size is very different from a complete production size range.For example: Men's EU 40–46, may require several sizes or size-specific tooling depending on the molding process.
You should therefore tell the manufacturer your expected size range before receiving a final quotation.
If your expected production volume is high, the factory may recommend more cavities or additional molds to improve production efficiency.
This increases the initial tooling investment but can reduce production bottlenecks later.
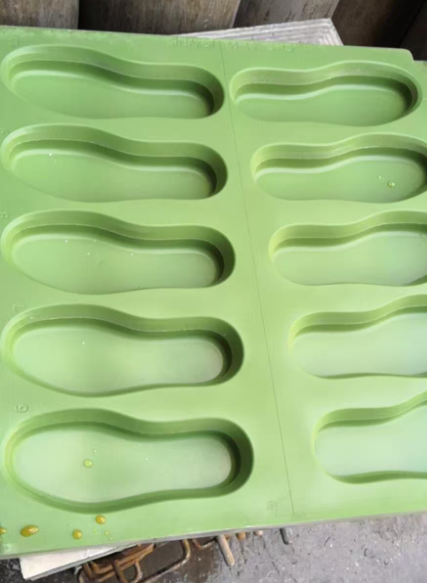
Customers sometimes focus mainly on the bottom pattern and forget the sidewall.
However, visible sidewall details can significantly affect mold machining and finishing.
Examples include:
Raised logos
Recessed logos
Brand name
Decorative lines
Special textures
Different sidewall heights
High-gloss surfaces
Fine engraving

This is one of the most important parts of the development process. The more complete your information is at the beginning, the faster the project can move.
The shoe last is extremely important. The outsole should not be developed independently from the last. The last affects:
Overall outsole length
Forefoot width
Toe shape
Waist shape
Heel position
Toe spring
Bottom curvature
Heel height
Fit and assembly
If you already have the final shoe last, providing it at the beginning can greatly reduce unnecessary adjustments later.
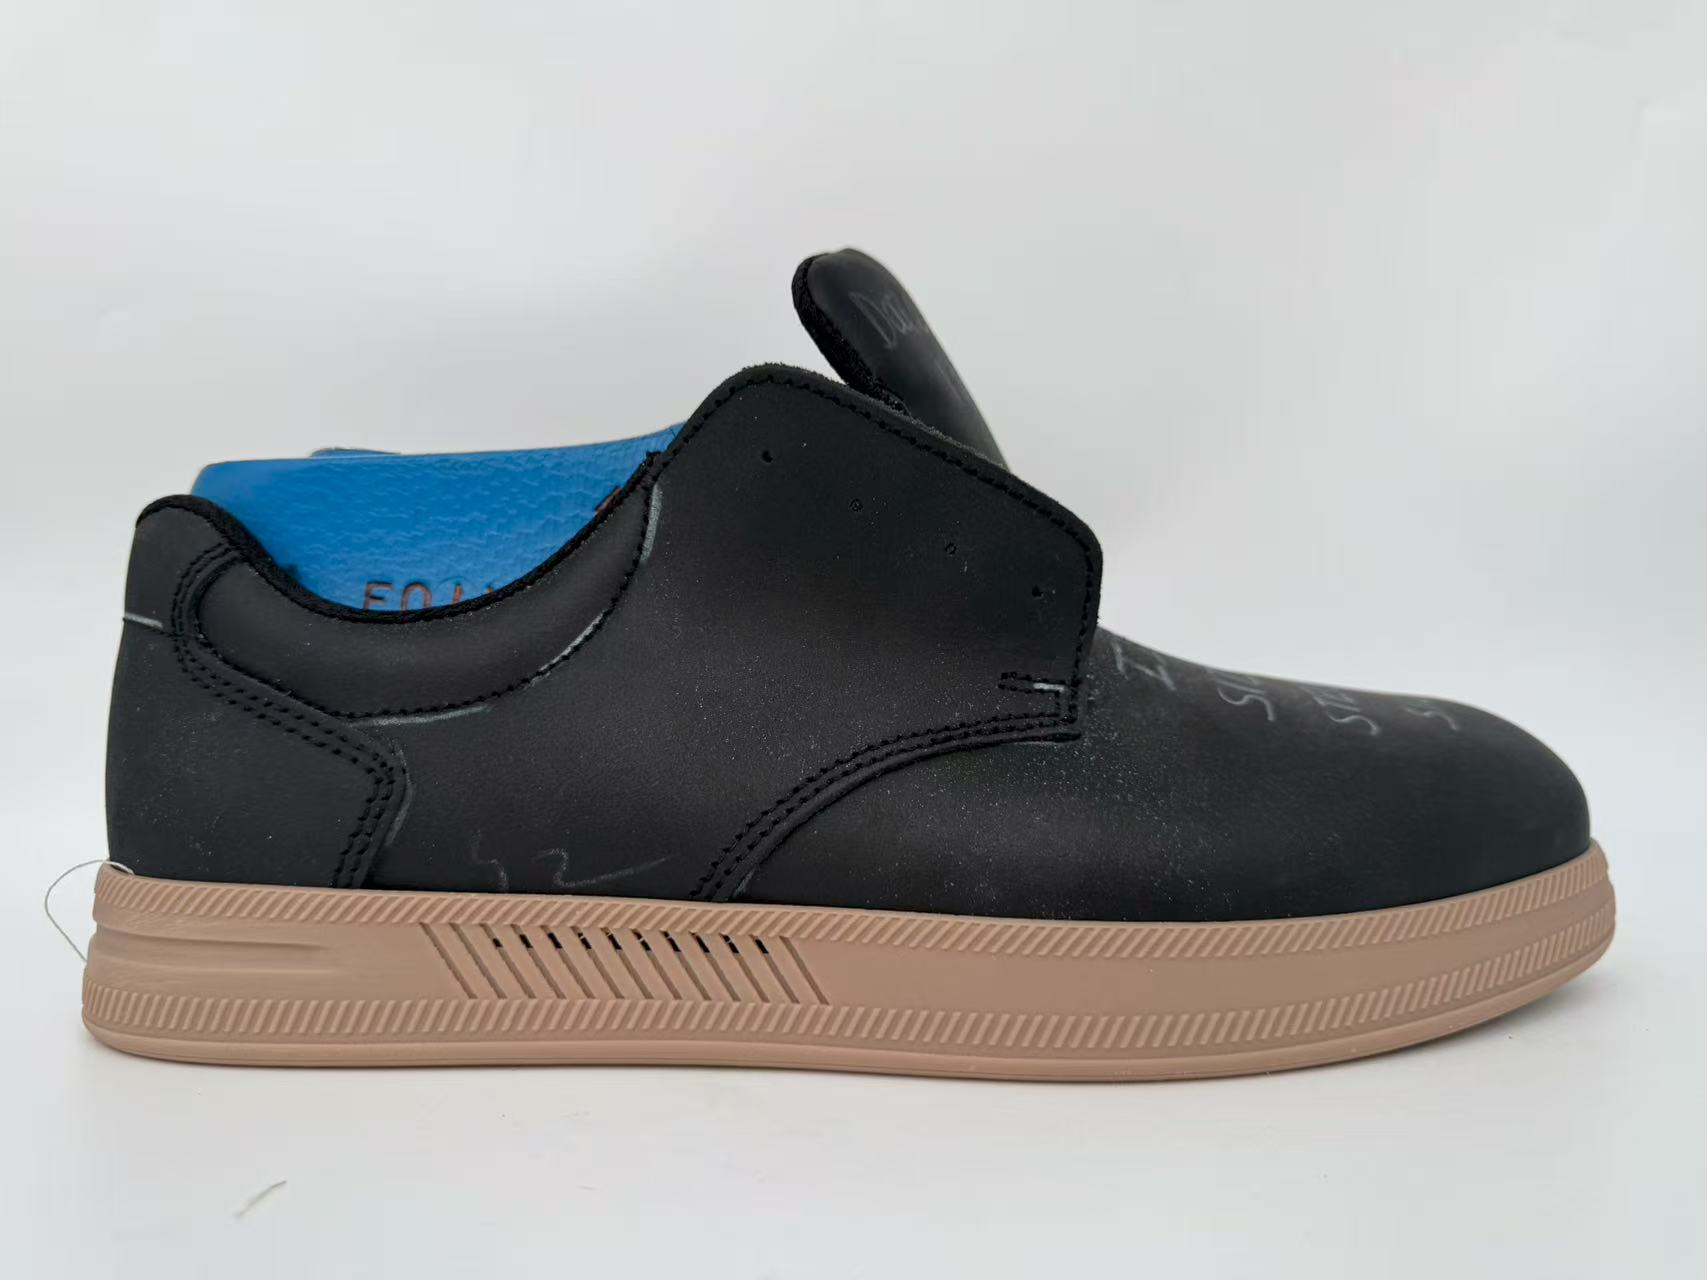
If you do not have a 3D file, don't worry. A manufacturer may be able to start from:
Existing outsole
Complete shoe
Shoe upper
Physical sample
Wooden model
Sketch
2D drawing
3D drawing
Reference photos
The more accurate the reference, the easier it is to understand the intended design.
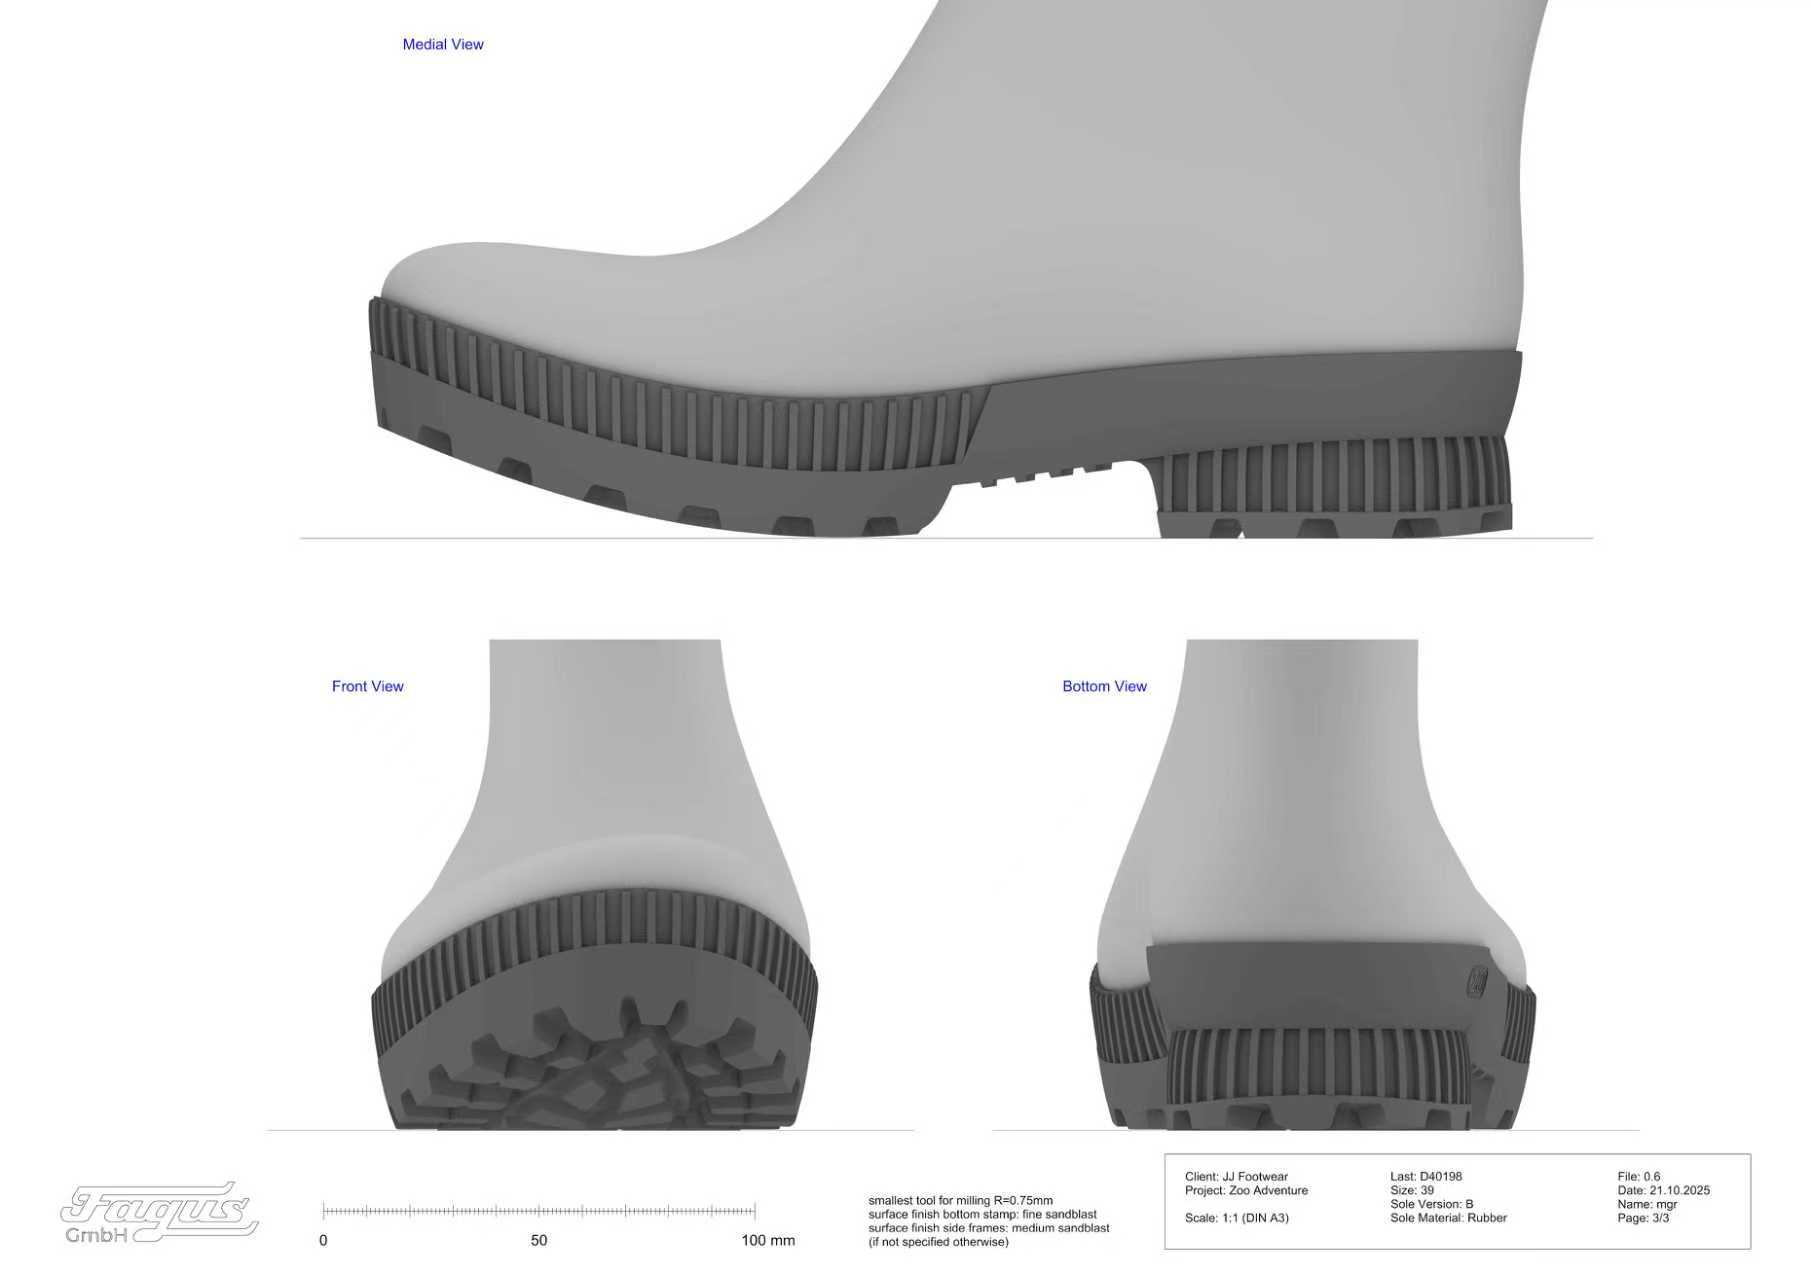
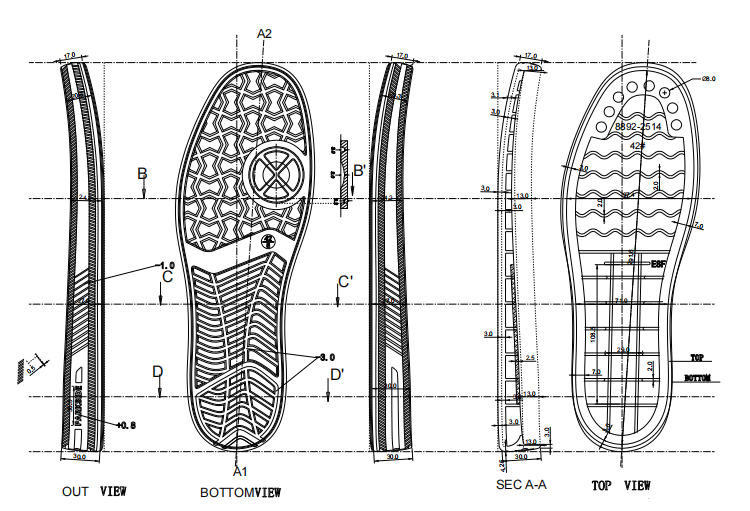
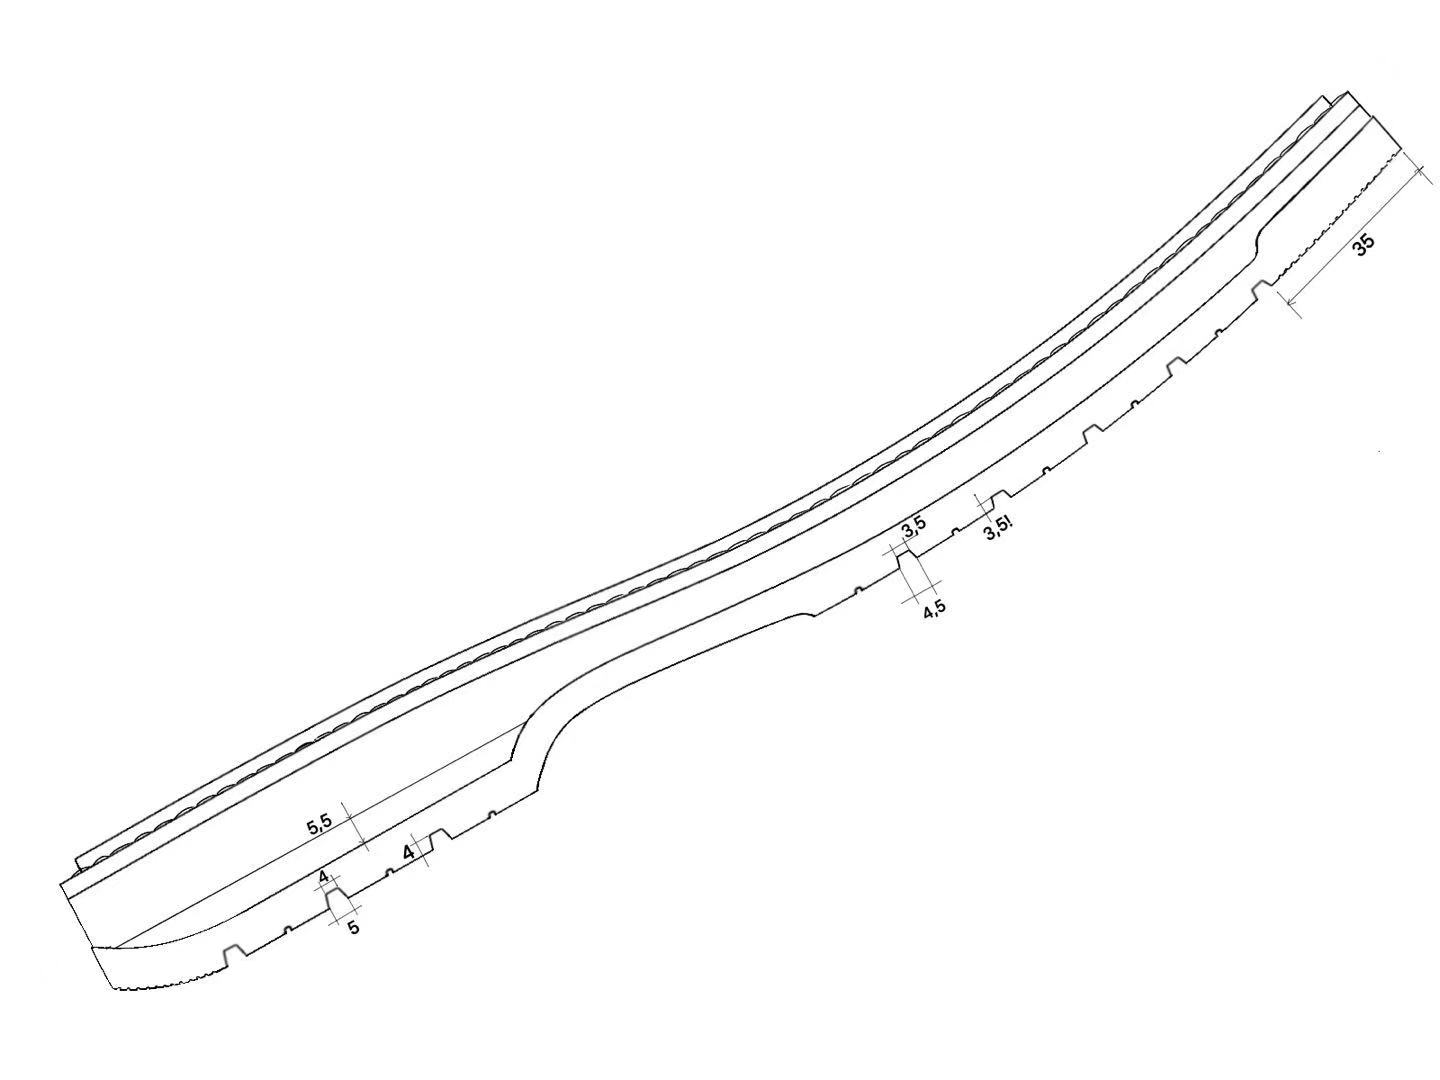
A 2D drawing can include:
Sole length
Width
Height
Heel dimensions
Thickness
Key section measurements
Logo position
Tread dimensions
A good 2D drawing helps the factory understand the required dimensions before creating the 3D model.
If available, provide your original:
STEP
STP
IGES
STL
OBJ
Other compatible 3D files
A 3D file can make the development process much faster.
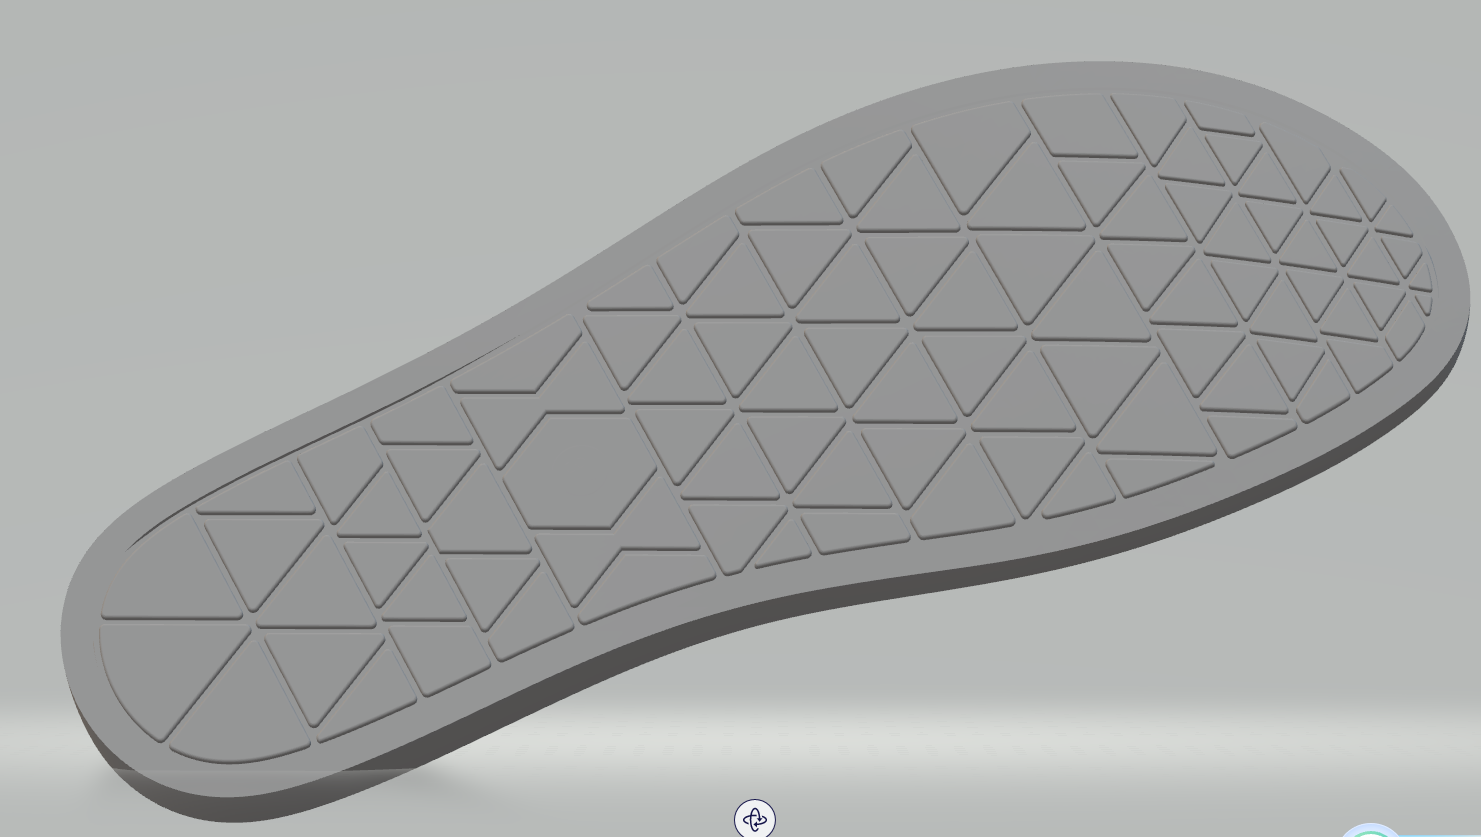
However, if you do not have a 3D file, a professional sole manufacturer may be able to develop the 3D model based on your physical sample, 2D drawing, last or design concept.
Please specify your preferred material if you already know it.
For example:
EVA
Rubber
PU
TPR
TPU
ETPU
PEBA
Other materials
If you are not sure which material is suitable, tell the manufacturer the intended use and target performance.
For example:
Lightweight running shoe
Outdoor hiking shoe
Casual leather shoe
Work shoe
Golf shoe
Padel shoe
Fashion sneaker
The manufacturer can then recommend a suitable material and construction.
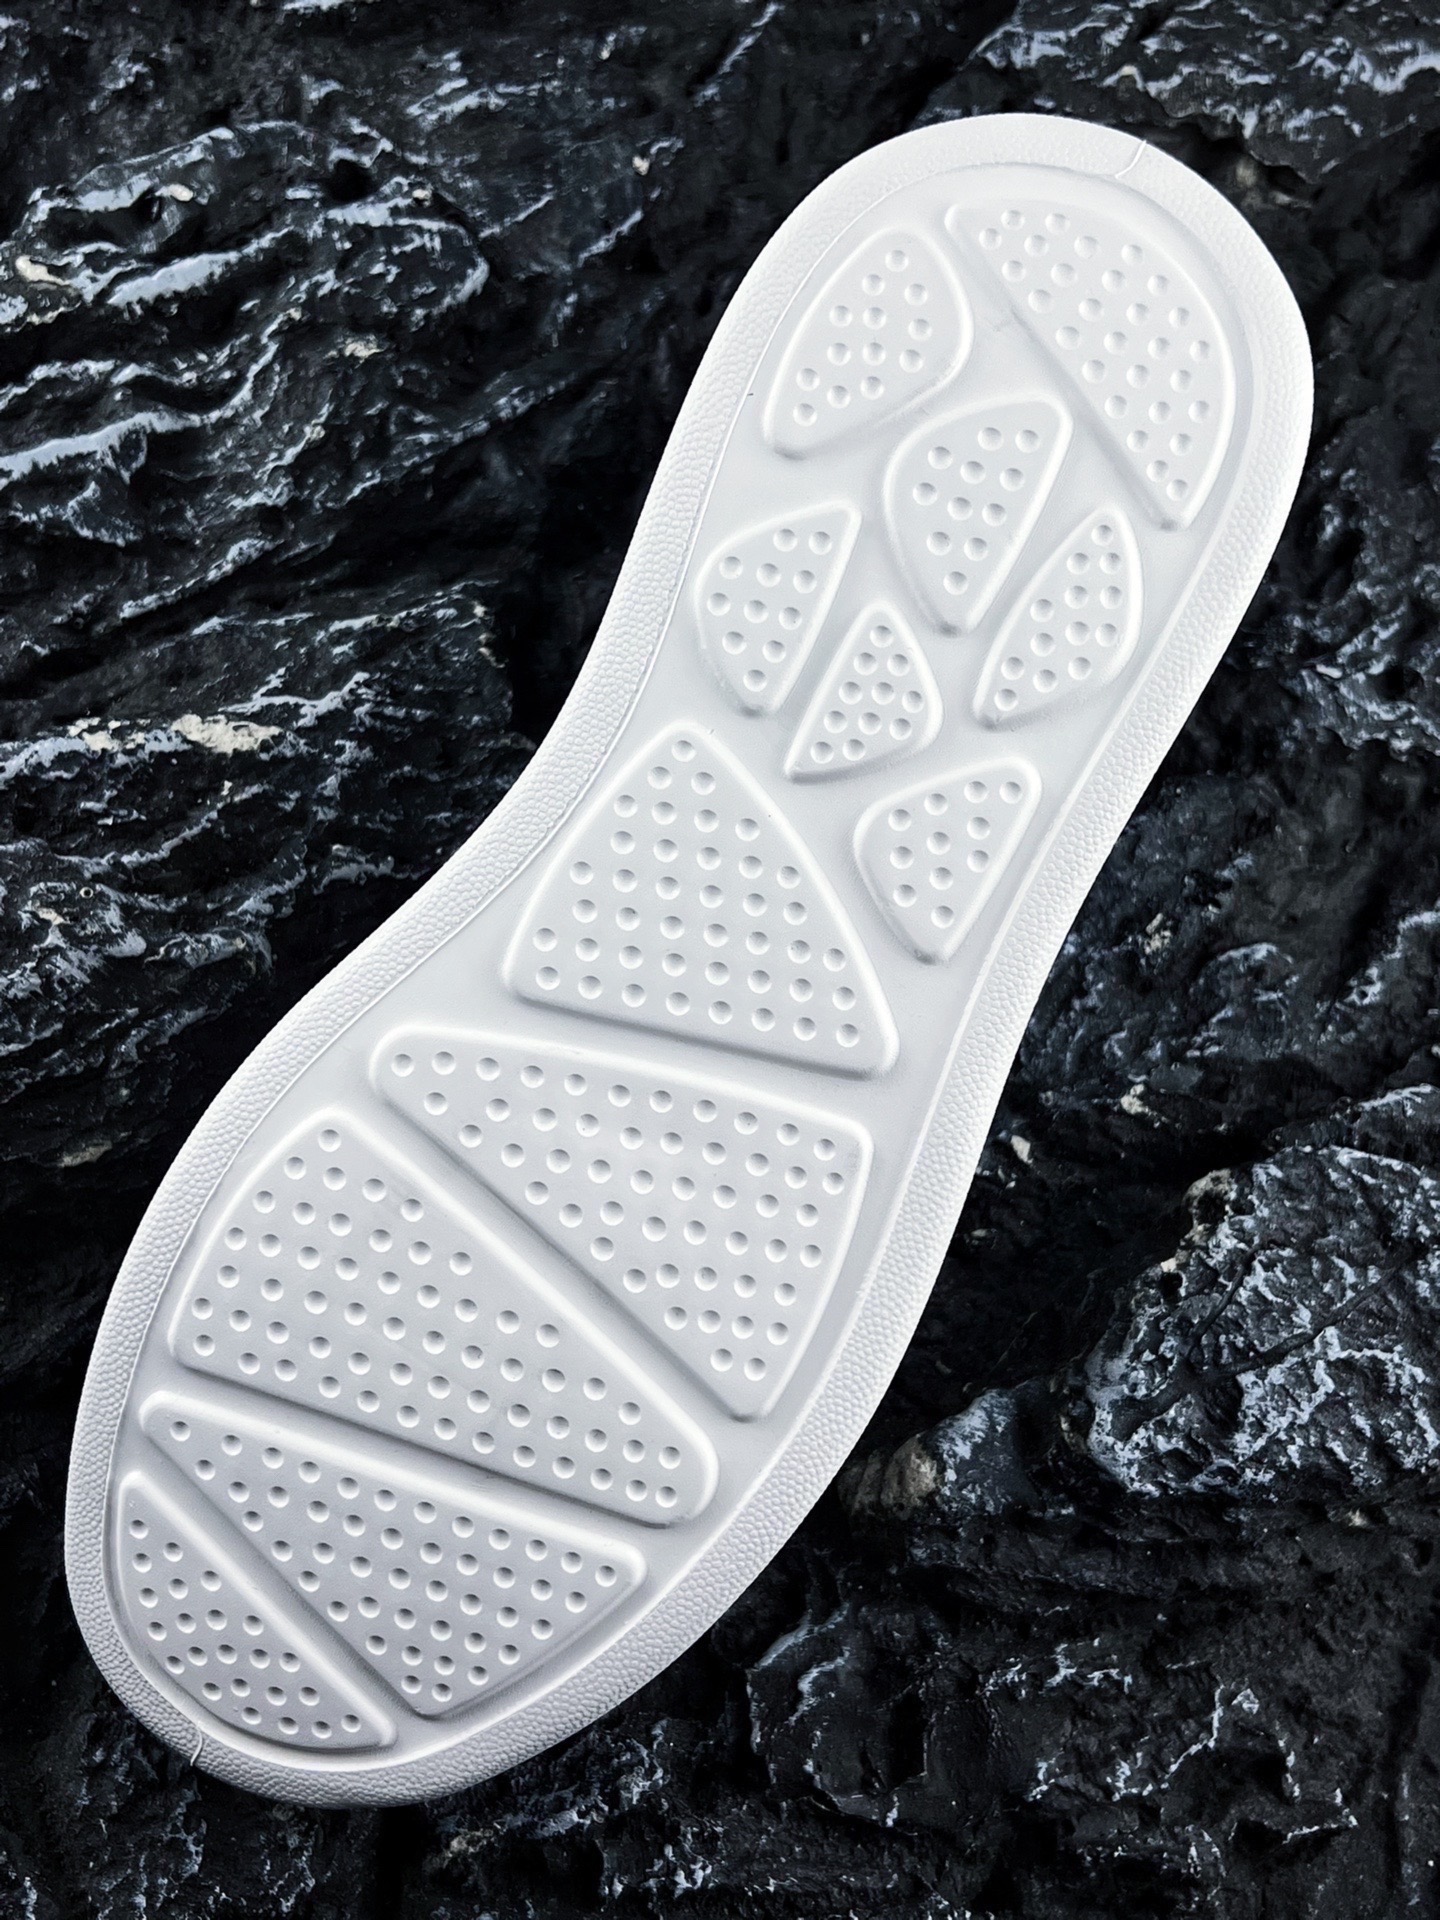
If you already have a specification, provide:
Hardness
Density
Rebound
Abrasion
Flex resistance
Tensile strength
Tear strength
Slip resistance
Oil resistance
Hydrolysis resistance
Temperature resistance
Not every project needs all of these tests. The requirements depend on the final application.
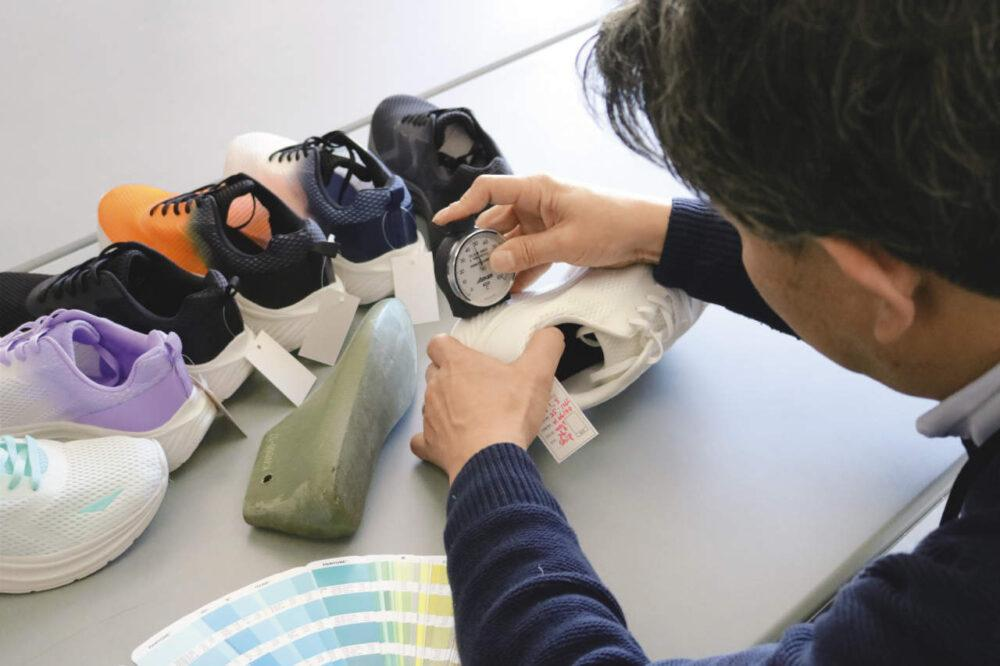
A professional outsole development project normally follows several stages.
You provide the available information:
Outsole sample
Complete shoe
Shoe last
2D drawing
3D drawing
Design sketch
Technical specifications
Reference photos
The development team reviews the information and confirms what is missing.
The design is converted into a technical structure.
Depending on the project, this can include:
2D drawing
3D drawing
Wooden model
Dummy sole
Size grading
Structural adjustments
For Huadong's current development workflow, the reference timing shown in our development process is approximately 6–8 days for this stage.
The purpose is to check the shape before committing to final production tooling.
This stage is extremely important because correcting a design before opening the production mold is usually much easier than correcting the mold later.
Once the design is confirmed, the prototype mold can be developed.
Possible mold materials include:
Iron
Steel
Aluminum
Other suitable tooling materials depending on the process
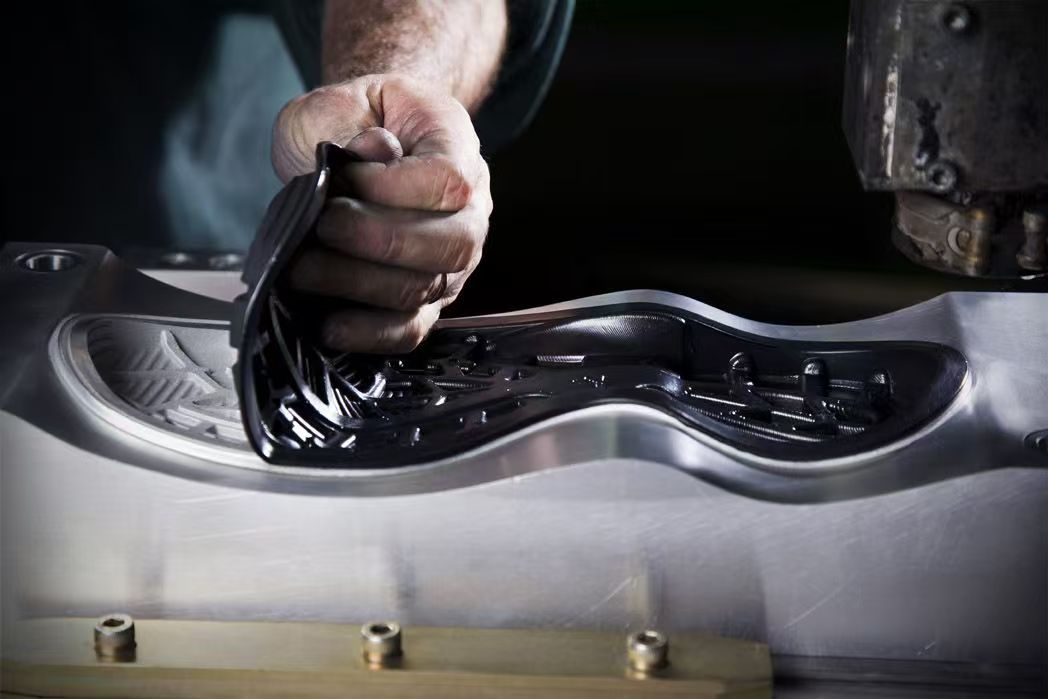
Typical work includes:
CNC machining
Mold casting
Surface finishing
Logo details
Tread details
Cavity checking
Mold fitting
In Huadong's current workflow, the reference timing for this stage is approximately 12–16 days.
Huadong operates an in-house mold plant with more than 30 CNC machines and states an annual capacity of approximately 8,000 pairs of mold casting. The factory develops molds for TPU, TPR, EVA, rubber, PU, PVC and other sole constructions.
After the prototype mold is completed, the first outsole samples are produced.
This is where you check:
Shape
Length and Width
Sidewall
Heel and Toe
Tread pattern
Logo
Hardness
Weight
Fit with the shoe last
Bonding area
Overall appearance
If necessary, feedback is sent back to the factory for improvement.
For Huadong's current workflow, sample approval is approximately 5–7 days, depending on sample production, courier delivery and feedback.
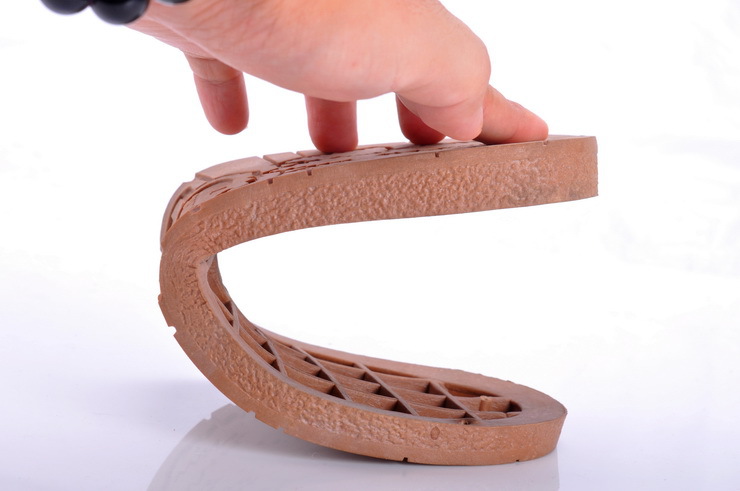
After the sample is approved, the project moves toward production.
This can include:
Full-size mold making
Size grading
Production tooling
Fitting with the final shoe last
Production trial
Quality inspection
Mass production preparation
The current reference timing in Huadong's development workflow is approximately 14–16 days for this stage.
Therefore, if the four timed stages after the initial information review are carried out sequentially, the reference development timeline is approximately:
6–8 days
Blueprint & Dummy Sole
↓
12–16 days
Prototype Mold
↓
5–7 days
Sample Approval
↓
14–16 days
Full-Size Mold & Production Preparation
Total: approximately 37–47 days
This is a planning reference, not a guaranteed calendar time.
The actual timeline can be shorter or longer depending on design complexity, sample revisions, material availability, size range, shipping time and customer approval speed.
That's not a problem. You do not necessarily need a complete CAD package to start.
A custom outsole project can potentially start from:
Sketch → 3D development → Dummy sole → Prototype mold → Sample → Final mold
For customers who already have a complete technical package, the process can move faster.
For customers who only have an idea, the manufacturer may need to provide more design and engineering support.
You can start by explaining the application. For example:
“I need a lightweight outsole for a running shoe.”
“I need a durable rubber outsole for an outdoor shoe.”
“I need a soft and flexible sole for a women's casual shoe.”
The material should be selected based on the balance between:
Weight
Durability
Flexibility
Rebound
Grip
Cost
Appearance
Production process
Target market
There is no single “best” outsole material for every shoe.
The more of these items you can provide, the more accurate your quotation and development schedule will be.
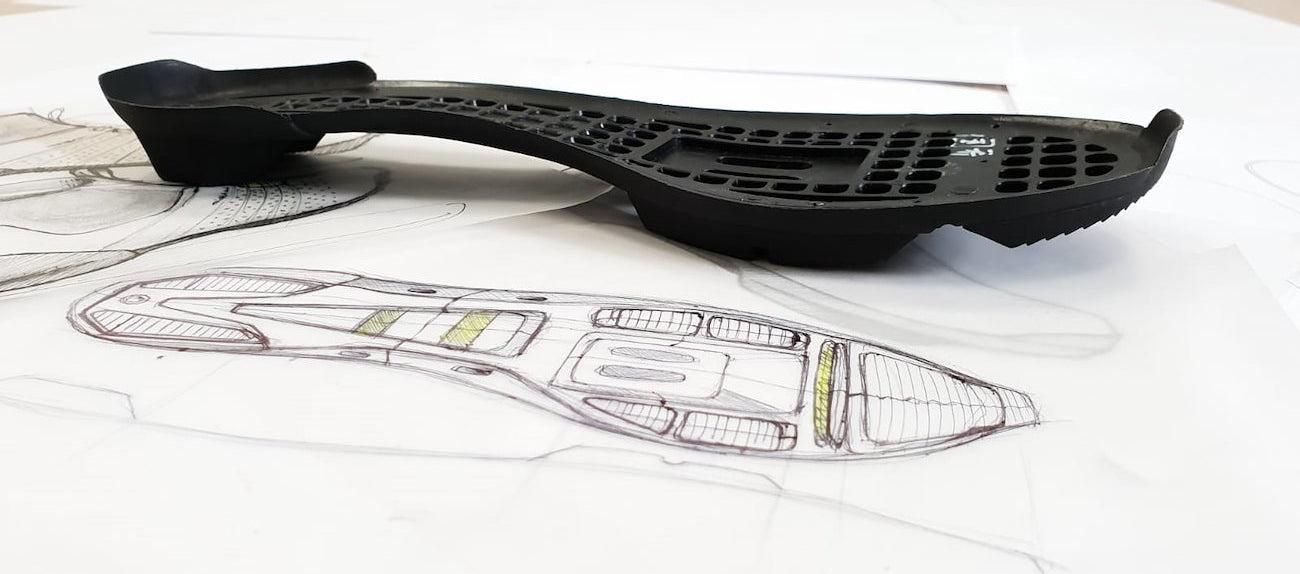
A new outsole is not simply a mold. It is a combination of:
Design + Last + Material + Engineering + Tooling + Sampling + Testing + Production
The good news is that you do not need to have everything perfect before contacting a professional sole manufacturer.
Even if you only have a sketch, reference shoe or physical sample, you can start the conversation.
The key is to tell the manufacturer what you already have, what you want to achieve, your expected quantity and your target launch date.
From there, the manufacturer can recommend whether you should use a stock outsole, modify an existing design or develop a completely new outsole.
For footwear brands and factories, the earlier these decisions are made, the easier it is to control both development cost and delivery time.
Have a new outsole idea?
Send us your reference shoe, outsole sample, shoe last, 2D/3D drawing, sketch or design concept, together with your material preference, size range and estimated quantity.
We can then review the project and recommend the most suitable development route before you invest in the final mold.
There is no fixed price.
The reference table above lists basic rubber/TPR outsole tooling at US$500–700 per size, basic EVA/ETPU tooling at US$1,100–1,500 per size, and multi-part athletic outsole tooling at US$2,000–3,500 per size. These are planning references, not fixed quotations.
The actual quotation depends on your design, material, size range, mold structure and quantity.
For Huadong's current reference workflow, the complete process is approximately 37–47 days when the stages are carried out sequentially:
6–8 days for blueprint and dummy sole
12–16 days for prototype mold
5–7 days for sample approval
14–16 days for production mold and preparation
Complex projects or projects requiring multiple revisions may take longer.
Yes. Depending on the project, development can start from a physical outsole, shoe, last, 2D drawing, sketch or reference design.
If the outsole needs to fit a specific shoe, providing the last is highly recommended. The outsole and last should be developed as one system.
Sometimes. If the existing design is suitable, the factory can evaluate whether it can be used directly, modified or used as a reference.
Small changes may be possible, but they can create additional machining costs and extend the lead time. Major changes may require new tooling. It is therefore better to confirm the design before opening the final production mold.
Yes, depending on the production process. However, if you eventually need a complete size range, the tooling and grading plan should be discussed at the beginning.
Some manufacturers offer tooling reimbursement after a certain production quantity. This must be agreed in advance and clearly stated in the commercial terms.
If your volume is uncertain, consider:
Stock outsole → Modified outsole → Fully custom outsole
Do not automatically choose a completely new mold if your first order is small.
Prepare the complete information before starting:
Last + design + material + size range + 2D/3D data + quantity + testing requirements
The biggest delays often come from missing information or late design changes, rather than from the actual machining process.


